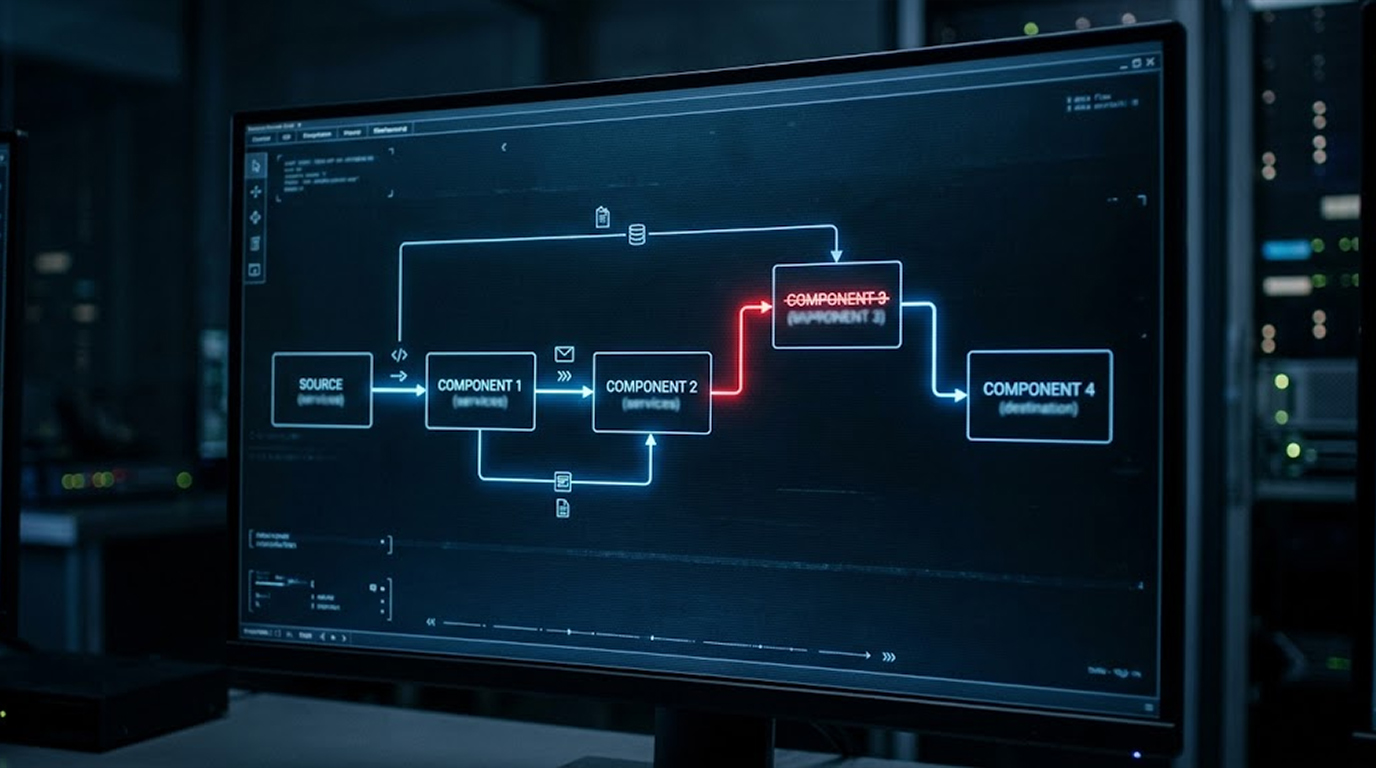
Invisible web bugs (or tracking pixels/beacon images) are helpful for sending notifications to the sender upon opening the email by inserting tiny visuals that track user behavior. Generally, the data collected includes a user’s IP address, device type being used, email program, and time it was opened.
This information is generally used by phishers/spear phishers for reconnaissance; trackers will also use it for marketing purposes to identify who their targets are and how they can go about phishering/threatning.
Many phishing/spear-phishing attacks still depend on the use of these types of web bug tracking mechanisms to determine whether or not their target has been located before delivering the final payload to them/sequencing it for presentment.
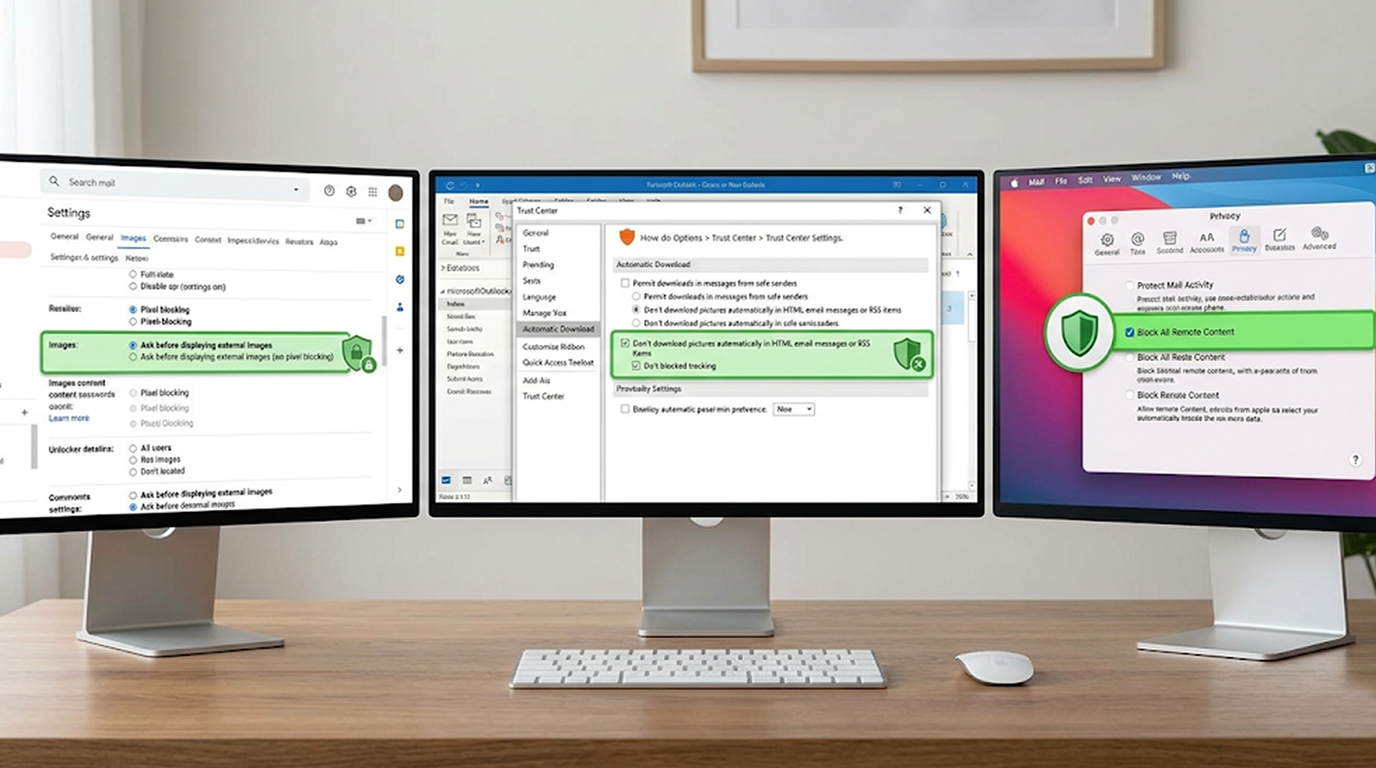
Here are practical, step-by-step instructions for the three most common email clients.
Gmail (Web and Mobile)
On Web (gmail.com):
1. Click on the gear icon (Settings) to see “All Settings” option.
2. Locate the General Tab (in most cases) and scroll down to where it says Images.
3. Select Ask before displaying external images.
4. Scroll to the bottom and click Save Changes.
This forces Gmail to block images by default. You can still load them manually when you trust the sender.
On Android/iOS Gmail App:
1. Open the Gmail app → tap your profile picture → Settings → General settings.
2. Turn off Images (or set to “Ask before showing”).
Tip: Gmail’s “External images blocked” notice at the top of an email is your visual cue that tracking is being prevented.
Outlook (Desktop, Web, and Mobile)
Outlook Desktop (Microsoft 365 / New Outlook):
1. Go to File → Options → Trust Center → Trust Center Settings.
2. Select Automatic Download.
3. Uncheck Don’t download pictures automatically in standard HTML e-mail messages.
4. Also uncheck Permit downloads in e-mail messages from senders and domains on the Safe Senders List.
Outlook on the Web (outlook.com or Office 365):
1. Click the gear icon → View all Outlook settings.
2. Go to Mail → Layout → External images.
3. Choose Always block external images or Ask before downloading external images.
Outlook Mobile App:
1. Tap your profile picture → Settings → Mail → External images.
2. Set to Ask before showing or Never show.
3. Apple Mail (macOS and iOS)
On macOS:
1. Open Apple Mail → Mail → Settings (or Preferences).
2. Go to the Viewing tab.
3. Uncheck Load remote content in messages.
On iPhone/iPad (iOS/iPadOS):
1. Open Settings → Mail.
2. Scroll down and disable Load Remote Images.
This blocks all remote images (i.e. tracking pixels) by default.
Quick Exercise To Do Today
1. Send a test email to your self from another account. Make sure it contains an actual image along with a tracking pixel (you can create a free tracking pixel using a generator or just embed a 1x1 transparent image located at a test site).
2. Open the email in your email clients (Gmail, Outlook, Apple Mail) with the above settings enabled.
3. Look to see if the image loads automatically or is substituted with a placeholder / blocked notice.
4. Take note of the differences in behavior of each; this will help you develop your eye to identify when remote content is being blocked.
Bonus Tips For Maximum Protection
1. To minimize the chance of displaying tracking features it may be worthwhile to view potentially harmful email messages in plain text mode.
2. Using an email client that has been built with privacy in mind (i.e. ProtonMail/Tutanota) will often block remote images from loading automatically.
3. For additional protection, high-profile individuals (i.e. executives, journalists, activists) should use the email services mentioned above along with Lockdown Mode on their iOS device and also have a very strict policy for their desktop web browsers.
4. Review your email rules and filtering criteria frequently to ensure that you do not run the risk of automatic loading of email attachments.
Turning off automatic remote image loading is one of the highest-impact, lowest-effort privacy improvements you can make. It won’t stop every tracking method, but it removes the most common and easiest one used in phishing and reconnaissance campaigns.
Make these changes today, it takes less than five minutes per client and gives you immediate protection.